

It is very dangerous to look directly at the Sun, even briefly. In this craft and activity, you’ll create a safe viewer so you can look at the Sun without damaging your eyes.
Safe Sun Viewer
 Brief Description
 Materials
- Cardboard box
- White cardboard
- Scissors
- Tape
- Aluminium foil
 Learning Objectives
Introduce children to safe solar observation.
 Background Information
Don’t look at the Sun! Looking at the Sun is incredibly dangerous. If you look at the Sun, you could go blind!
The Sun is a powerhouse of energy, an enormous ball of gas, undergoing constant nuclear fusion. Even though the Earth is 149 million kilometres away from the Sun, we still feel energy from these explosions. In fact, all life on Earth depends upon the heat and light coming from the Sun. However, looking directly at the Sun, even briefly, is a bad idea — our eyes are very sensitive to its light. Even in the darkness, at least when there is only the tiniest amount of light, your eyes still manage to detect things. So imagine what happens when you focus all that bright light from the Sun on a tiny area like the eye. The light detectors at the back of the eye are burned. Unfortunately, unlike a sunburn on your skin, your eye probably won't recover.
So, please, no matter what, do not look directly at the Sun.
We can’t look directly at the Sun, but we can look at a projection of the Sun safely. In this activity we will make a device to do this.
Sometimes the shadow of the Moon passes in front of the Sun and blocks out some or all of its light. This is called a solar eclipse. You can also see this shadow using this safe Sun viewer.
 Full Activity Description
Step 1
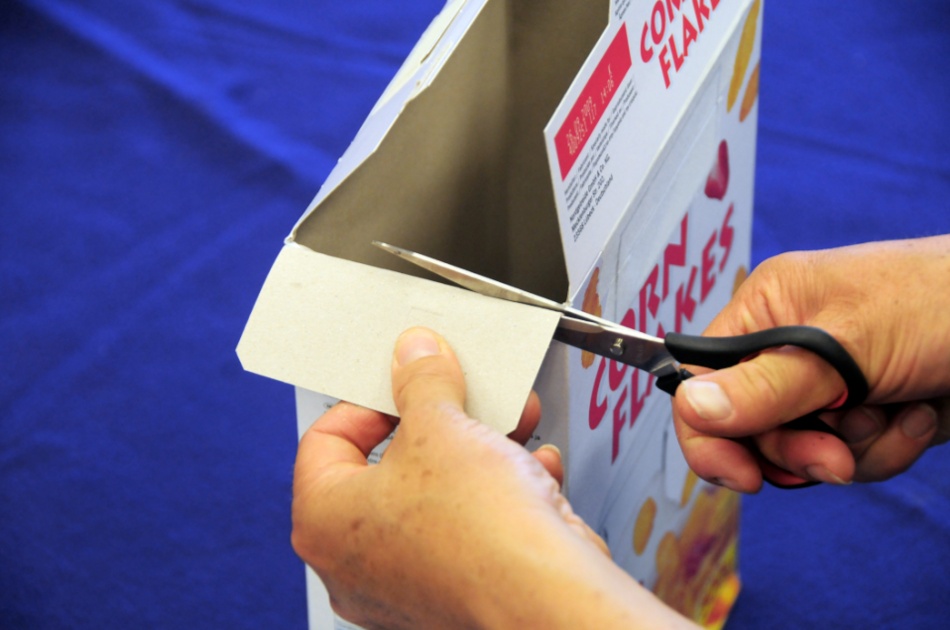
Take a cardboard box and cut a window at one of the short ends. Cut the window as wide as the box and about 3 cm high. (Image 1)

Step 2
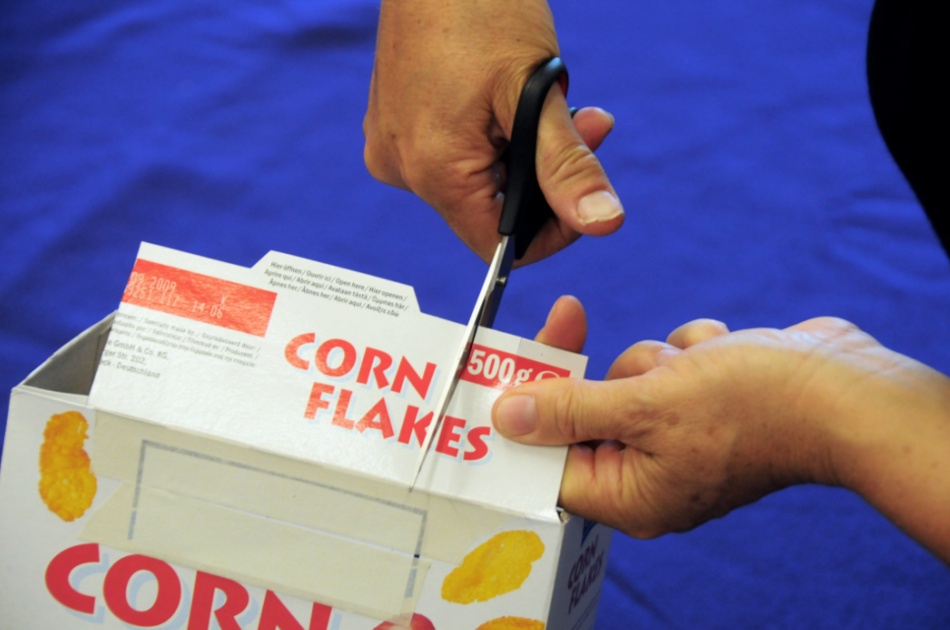
Cut another window directly above the first (see image for reference). This window needs to be bigger than the previous one, cut it about 5 cm high. The smaller hole is going to be your viewing window. The bigger hole is going to be your projection window. (Image 2)

Step 3
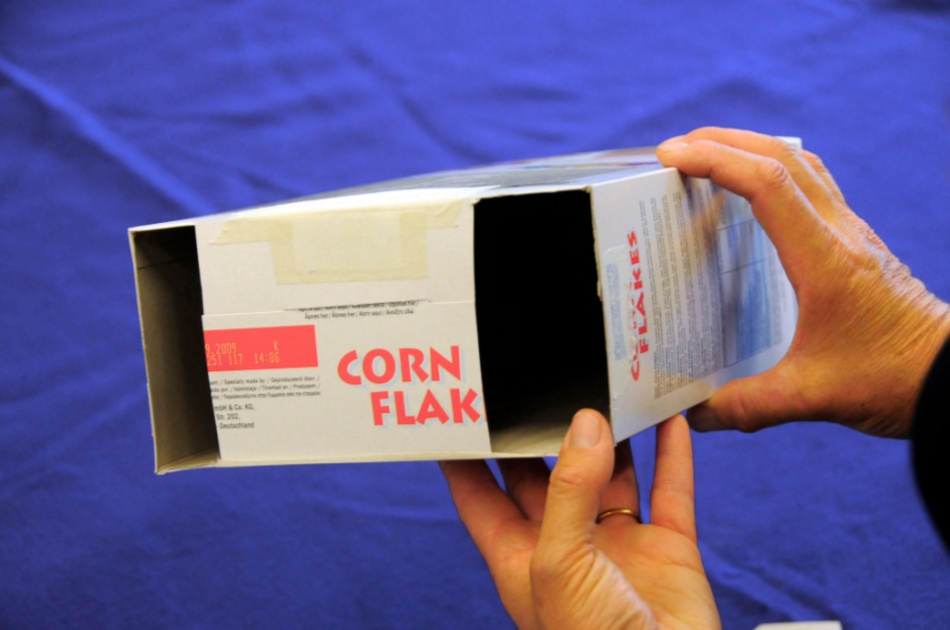
Cut a piece of white cardboard to the same size as the bottom of the box. (Image 3)

Step 4
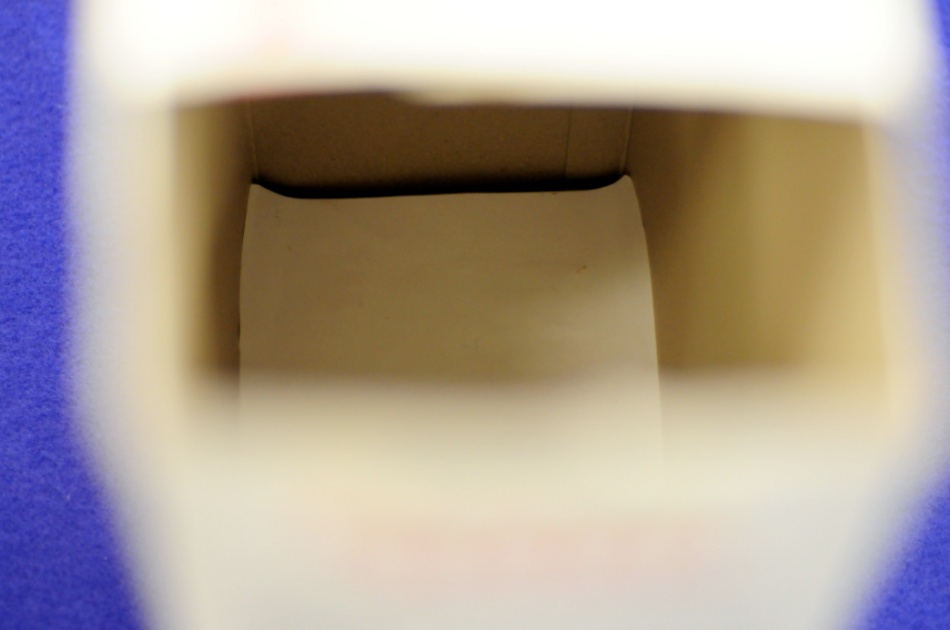
Insert the white cardboard into the opposite end. (Image 4)

Step 5
This is going to be your projection screen. (Image 5)

Step 6
Cut a piece of aluminium foil large enough to completely cover the projection window. (Image 6)

Step 7
Hold it up to the light to make sure that there are no holes in the foil. (Image 7)

Step 8
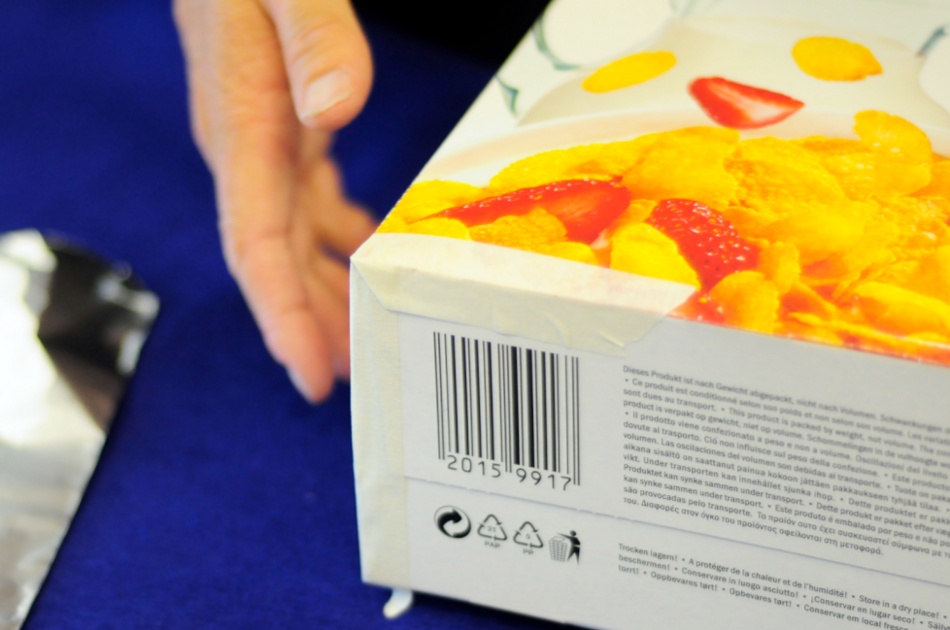
Tape the foil over the projection window. (Image 8)

Step 9
Hold your box up to an electric light and look through the viewing window to make sure that there are no pinpricks of light sneaking in. (Image 9)

Step 10
Seal any extra holes in the box. (Image 10)

Step 11
Take a nail, or some other small, sharp object, and make a small hole in the foil. (You can experiment with the size of the hole, but about 3 mm works well.) (Image 11)

Step 12
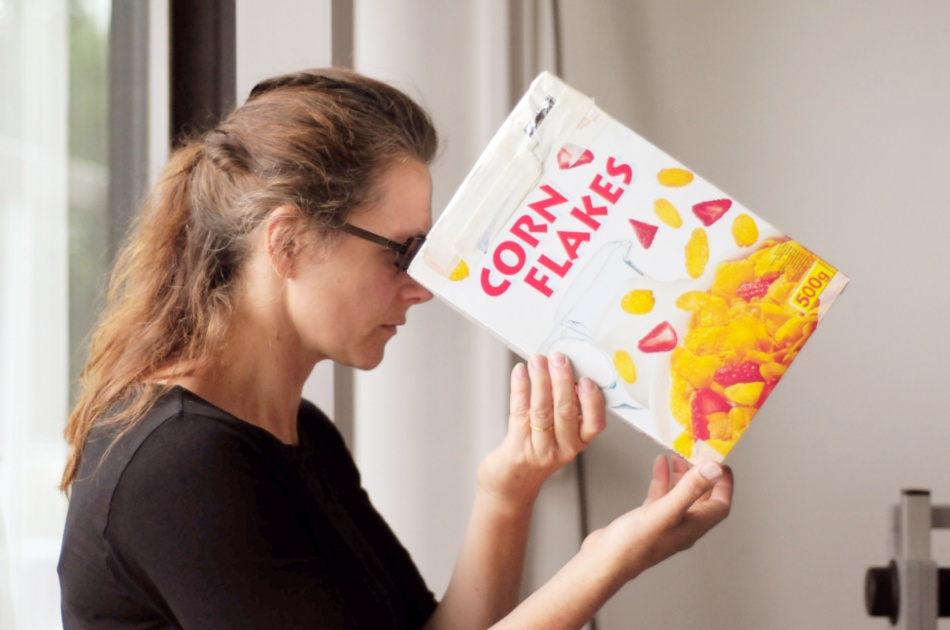
Go outside and stand with your back to the Sun. Hold the box pointed at the ground so that the Sun’s light can pass through the pinhole in the foil and onto the screen. (Image 12)

Step 13
Look through the bottom window. The small circle of light that you will see is not just ‘light’ coming through the pinhole, it is an image of the Sun. (Image 13)

 Keywords
 License
 Attachments
 Downloads

